Glam Header

Ad

Friday, 15 November 2013

Chicken Soup || Recipe


Hello Lovelies,


I was feeling a bit poorly yesterday and needed a bit of tlc, so I knocked up a quick batch of chicken soup.  When I was little and my brother and I were sick we would curl up on the sofa bed in our playroom with a snugly quilt and watch videos like Mary Poppins and Chitty Chitty Bang Bang while Mummy bought us hot Ribena, these days when I'm under the weather my day is filled with my guilty pleasure TV shows (hello Kardashians!) and chicken soup with copious amounts of tea.  


This soup is super yummy and fab for those chilly days.

Ingredients


Knob of butter

2 onions
3 sticks of celery
2 carrots finely diced
1 tbsp plain flour 
2 pints chicken stock
2 chicken breasts 
1 tbsp of freshly chopped parsley 
S+P


First you need to dice your veg then throw it in a casserole dish with your butter on a medium heat until it all starts to soften.  While the veg is softening you can sort out your chicken, I cut the two breasts into large chunks so it cooks quickly. 

Next stir your flour into your veg and cook for a further 2 mins. Pour your chicken stock over your veg and bring the mixture to the boil, stirring as you do so.


Season the soup to taste with salt and freshly ground pepper, then pop in the oven until the veg is tender.  


After the chicken is cooked, chop it up into small pieces and let it join your veg in soupy heaven.  I normally give it another 30 mins in the oven at 160 C then take it out.


After you have ladled your soup into your bowl add a bit of fresh parsley, to give it a little bite.


Then it is time to enjoy, make sure you have your snuggliest socks and jumper on then revel in its soupy goodness.  


What is your favourite Winter soup?

SHARE:

Monday, 11 November 2013

Creamy Beef and Squash with Rice


Hello Lovelies,


It's my mothers birthday this month, so my brother made a little pit stop home on the way back from a party so we could give her an early birthday.  I was however rather stuck on what to cook for supper, but a friend of mine pulled this blinder out of her hat, I gave the original recipe she gave me a bit of a tweak and it was so yummy that I thought you all deserved to have it in your cook book.   

Ingredients for 5 people:

Pre-heat oven to 160C

1 squash
2 onions
3 rump steak
1 chicken stock cube
1 bayleaf
1 pack of green beans
basmati rice 
single cream


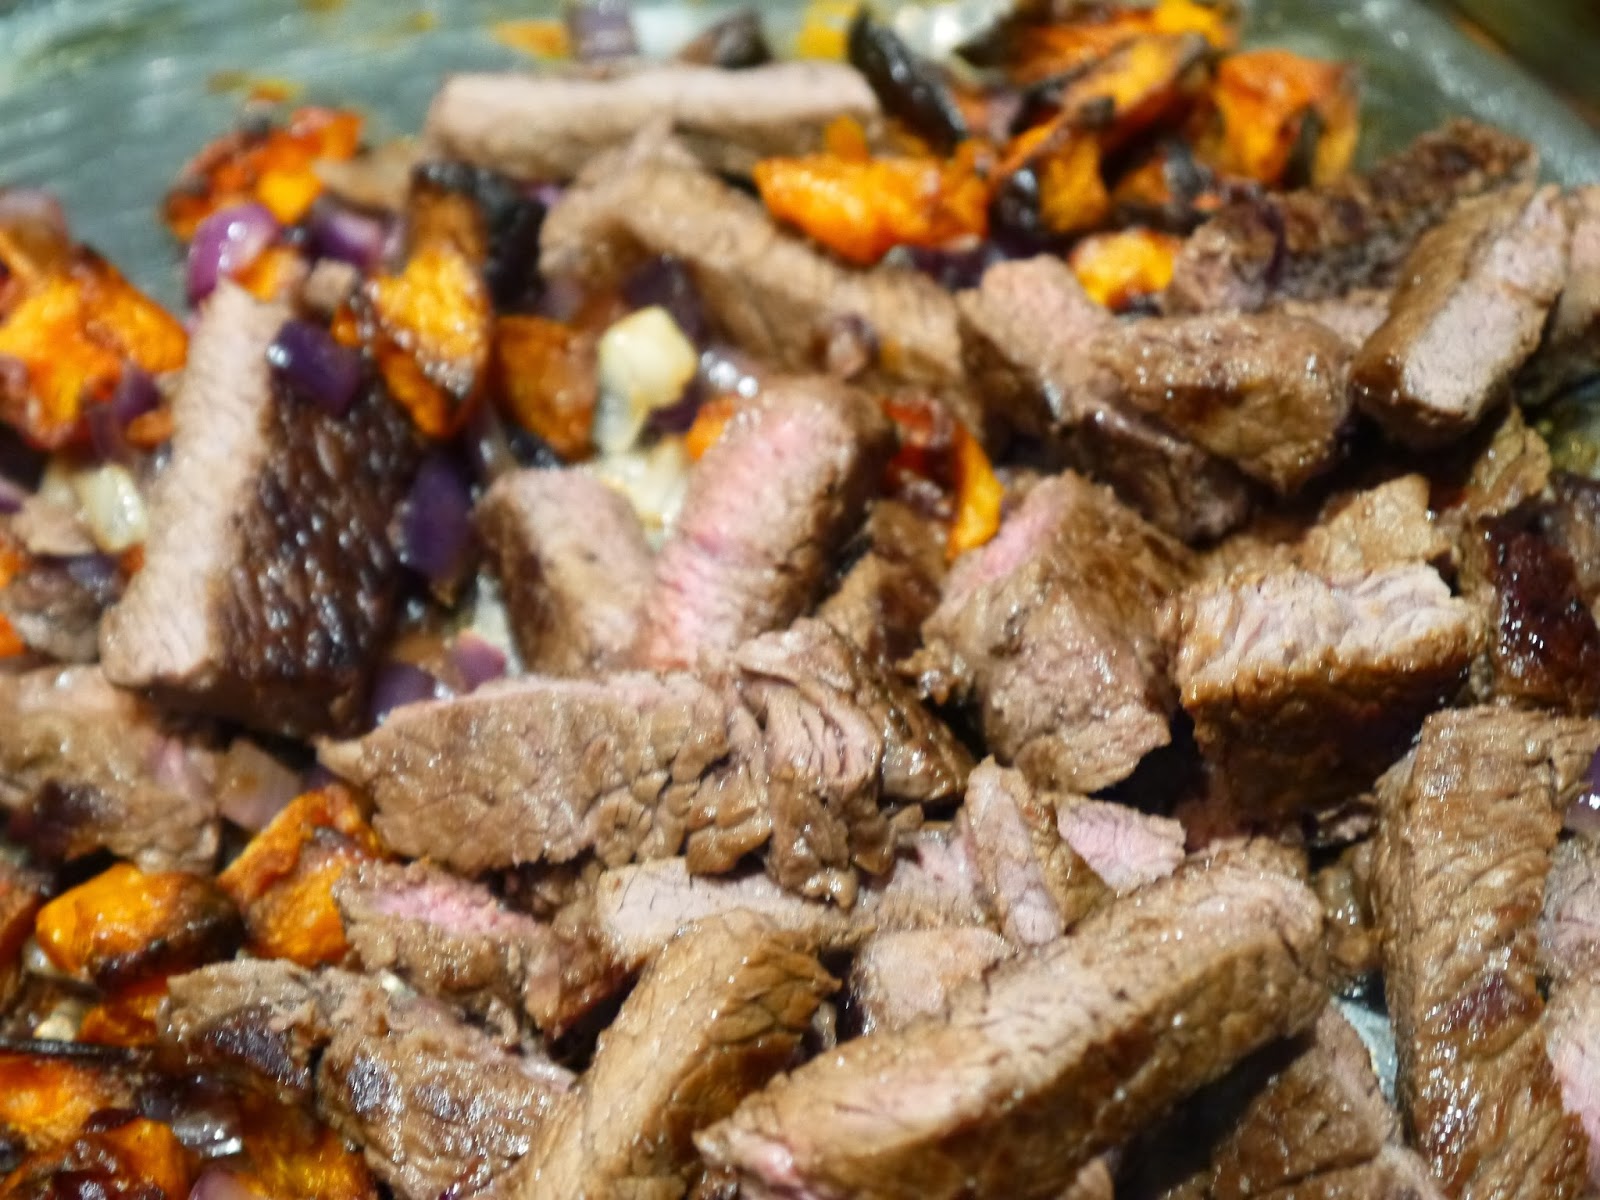
First thing you need to do is roast your squash, cut it into cubes and pop it into the oven with some olive oil, I don't actually know how long it took, but just keep checking, you want to take them out when they are a lovely golden colour.  


Next you want to dice one of your onions and pan fry it with a little oil until they become translucent.  Once cooked add them to your squash. 


Next season your beef, and start to fry your second onion, once cooked push your onion to the side of your pan and start to cook your beef, I cooked mine 2 1/2  mins each side as I am not a personal fan of rare beef. 

While you are cooking your beef you will want to start cooking your rice, pop it in a ban with one chicken stock cube and a bay leaf. 


 Once your beef is cooked you can cut off the fat and slice, I then pop it in a warming oven with the squash and onion, while I whip up the sauce and cook the beans.
The sauce is cooked in the same pan as the beef was so the cream and onion absorb all those lovely flavours, you don't want it to sit in the pan for to long as it will curdle, it just needs to be stirred with the onions until it is hot then pour over your beef and squash.  
As you start to serve up you can pop your beans onto boil so they are nice and hot when your ready to eat.   


Its a nice dish to pop on the table and let everyone serve themselves, but this time we served out the rice and just put the beef on the table for everyone to dig into.


Has anyone else cooked anything new recently that has been a hit?
SHARE:

Wednesday, 6 November 2013

Homemade Honey and Vanilla Sugar Scrub


Hello Lovelies,


We all know that sugar isn't good for our healthy, however it is very good for our skin, this is why department stores and spas charge outrageous prices for a scrub that realistically cost pennies to make.  Homemade sugar scrubs are an incredible beauty product, they are great for exfoliation and can be incredibly moisturising and gentle on your skin unlike some scrubs that you can buy on the high street which tend to do the job of exfoliating but then leave my skin all dry.  So I now save my pennies and make my own super moisturising scrub, that can be used on both my face and body.  


The Basic Recipe:

Use 2 parts sugar (regular white or brown, I use brown as it is less coarse so therefore not as abrasive) to 1 part oil (almond, olive or coconut are fab), add 1/2 teaspoon of Vitiman E oil or the gel from three capsules, then any other optional ingredients. 

I personally like to first mix my sugar, oil and Vitamin E so I have a good base then start playing with the extras.  This scrub is for my Auntie so I wanted to play it a little safe as I'm not sure what scents she likes to use on her skin, so I opted for 1 tsp of vanilla extract and 2 of honey, honey is fabulous for your skin thanks to its antibacterial properties and hefty serving of skin saving antioxidants, so it was perfect for a sugar scrub.  You can use so many different scents, two of my favourites are lemon (fab for the kitchen) and lavender for a relaxing facial scrub.  The world is basically your oyster so get playing.   


These scrubs last on the counter for up to two months and smell good enough to eat... well they are but don't...  remember sugar isn't good for you!


These are also fab as Christmas prezzies, just add a ribbon and a scoop and there you have a lovely prezzie and a pinch.


Will anyone else be making their own sugar scrub?
SHARE:

Scrummy Cheese Straws


Hello Lovelies,


This blog post is for La La Lucy (go and check her out), after posting my tomato and basil dip with cheese straws she left a lovely comment and asked whether I could pop up the recipe  so here it is.

These are probably the easiest thing to make all you need is some puff pastry and your favourite cheese.  You could be really good and make your puff pastry, but my pastry skills don't go any further than rough puff & shortcrust, so ready made it is.     


After you have rolled it out you need to grate your cheese over half of it then fold the pastry over and flatten  keep doing this until you have a block then roll out and slice.


Once you have sliced your straws pop them onto a baking tray on a silicon sheet or baking paper.  I normally put them in on 160C for 15 mins, but it is pretty dependent on your oven, so keep an eye on them.  


When they are finished in the oven put them on a wire rack to cool then serve them to your friends.


So this is the rather naughty recipe for cheese straws (if you can call it a recipe!)
SHARE:

Tuesday, 5 November 2013

Carmex || Review


Hello Lovelies,


Carmex was probably the first beauty related product I ever owned.  Instead of reaching for the Vaseline pot or a nivea stick I reached for the little pot of Carmex.  When I was at school I would keep a little pot in my skirt pocket as I literally get the worst chapped lips in the winter.
Carmex has been making lip balm since 1937 the original Carmex balm is a set formula in a small pot with a screw lid, a little bulky for pockets so these days I turn to the Carmex squeezy tube, its easier to pop in a pocket but also feels a lot more hygienic compared to sticky grubby fingers into a pot over and over again. 


Carmex lip balm restores the moisture that wind and dry cold air can suck out of our lips.  Some find the smell a bit off putting and just can't stand the tingling feeling but I personally don't mind it.  The only thing that is slightly annoying is the price, it is no way expensive especially not when it is put next to my eight hour cream, but at around £2.99 here it is way more expensive than the 99 cents it costs in America!
   
I give my magical Carmex a 9/10 for its lip protecting power.


Does anyone else use Carmex?
SHARE:

Sunday, 3 November 2013

Tomato and Basil, a Match Made In Heaven


Hello Lovelies,


As you probably know I love hosting parties, whether it is a dinner party or a drinks with friends.  Part of my formula for a perfect evening is drinks and canapes when everyone arrives  this sets the tone for the party so you need to get it right.  I have three different dips/salsa that I always bring out to keep my guests happy.  The first is a scrummy creamy crab dip, but it is a family recipe and I would have to kill you if I told you!  The other two are a little more chunky, one is a salsa with a lovely kick while the other is a tomato and basil bowl of goodness. 

Ingredients

1 handful of plum tomatoes
2 chiquiño peppers
5 basil leaves
1 tablespoon of olive oil
2 cloves of minced garlic
a pinch of salt 


First thing you need to do is chop up your ingredients, I cut my tomatoes into quarters, dice the peppers and finely chop the basil.
Once everything is chopped pop it onto a small bowl or jug and add your rock salt, minced garlic and olive oil and give it a stir.
Once everything is nicely mixed decant into a pretty dish to serve.


This is fabulous served with Bruschetta or given a little twist by using cheese straws, I make my own as it is so easy but you can buy them in almost all supermarkets Thomas J Fudges makes great cheese thins or if your relatively local Reeves the Bakers do packets that you could pass of as your own. 


Does anyone else like entertaining?
SHARE:

Splash of Colour Weekend Fun


Hello Lovelies,


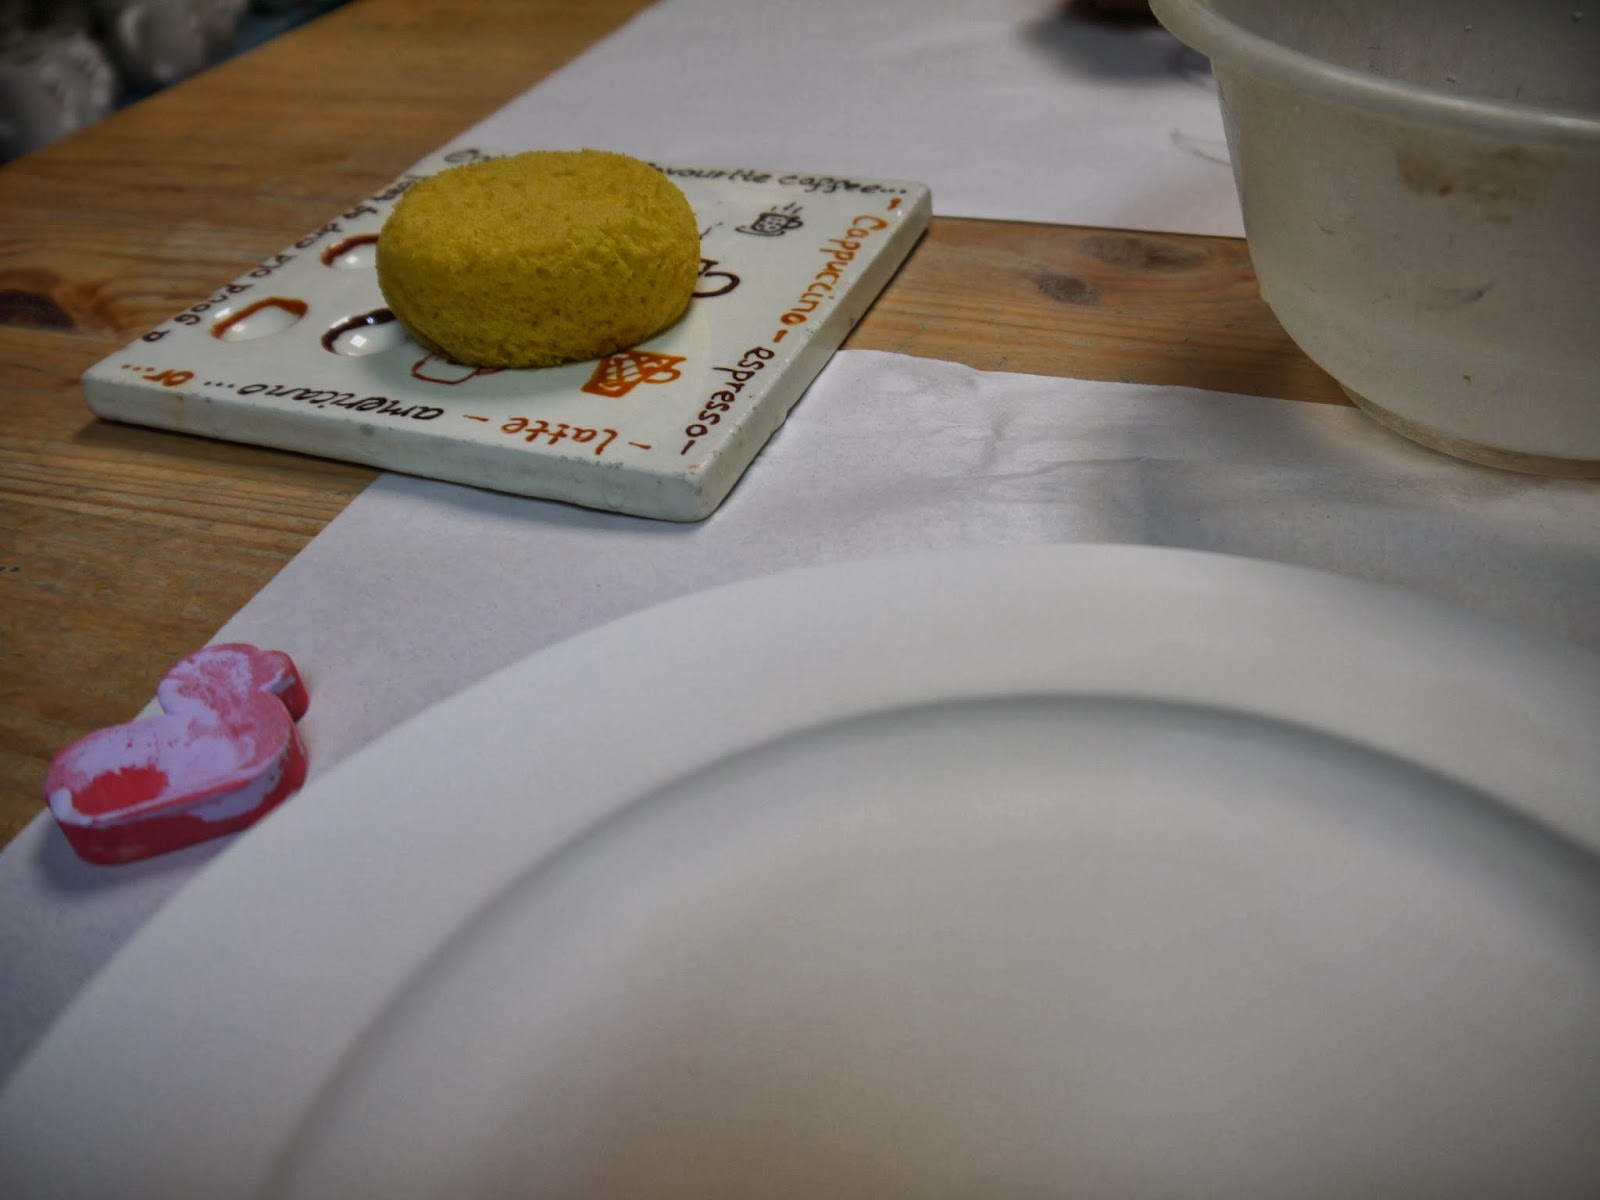
Last weekend I met up with an old friend of mine from school for a bit of a catch up, instead of doing the normal tea and cake or bite of lunch we decided to go to the Splash of Colour Cafe and let our artistic juices flow!


Harriet decided to freehand her design while I took a rather more juvenile approach (even though I studied art). 


All around the shop there were examples of various plates, mugs and platters that could be painted, I loved the large cake plate with hearts and names of different cake all over it.


 As I wanted to make something for my two year old goddaughter I wanted it to be simple and colourful so I opted for ducks in two different colours, a sunny yellow and a bright orange.


After a lot of nattering and girly chat we finally finished painting our ceramics and pootled home for a quesadilla for lunch. 


the finished product

I thoroughly recommend Splash of Colour or anywhere similar, it was great fun to do something arty (even if we were the only people in there painting over the age of eight) rather than just drinking tea!  It would be fab to do with younger siblings or cousins as a little activity especially as the weather is starting to turn rather grim.

Has anyone else been to somewhere like Splash of Colour?
SHARE:
© All Sophie Loves | All rights reserved.
Blogger Template Created by pipdig